Spring brings new life, and with it an exciting new Tree of Life project for me. I’m happy to be working with a local church, Faith Lutheran Church in Bellingham WA.
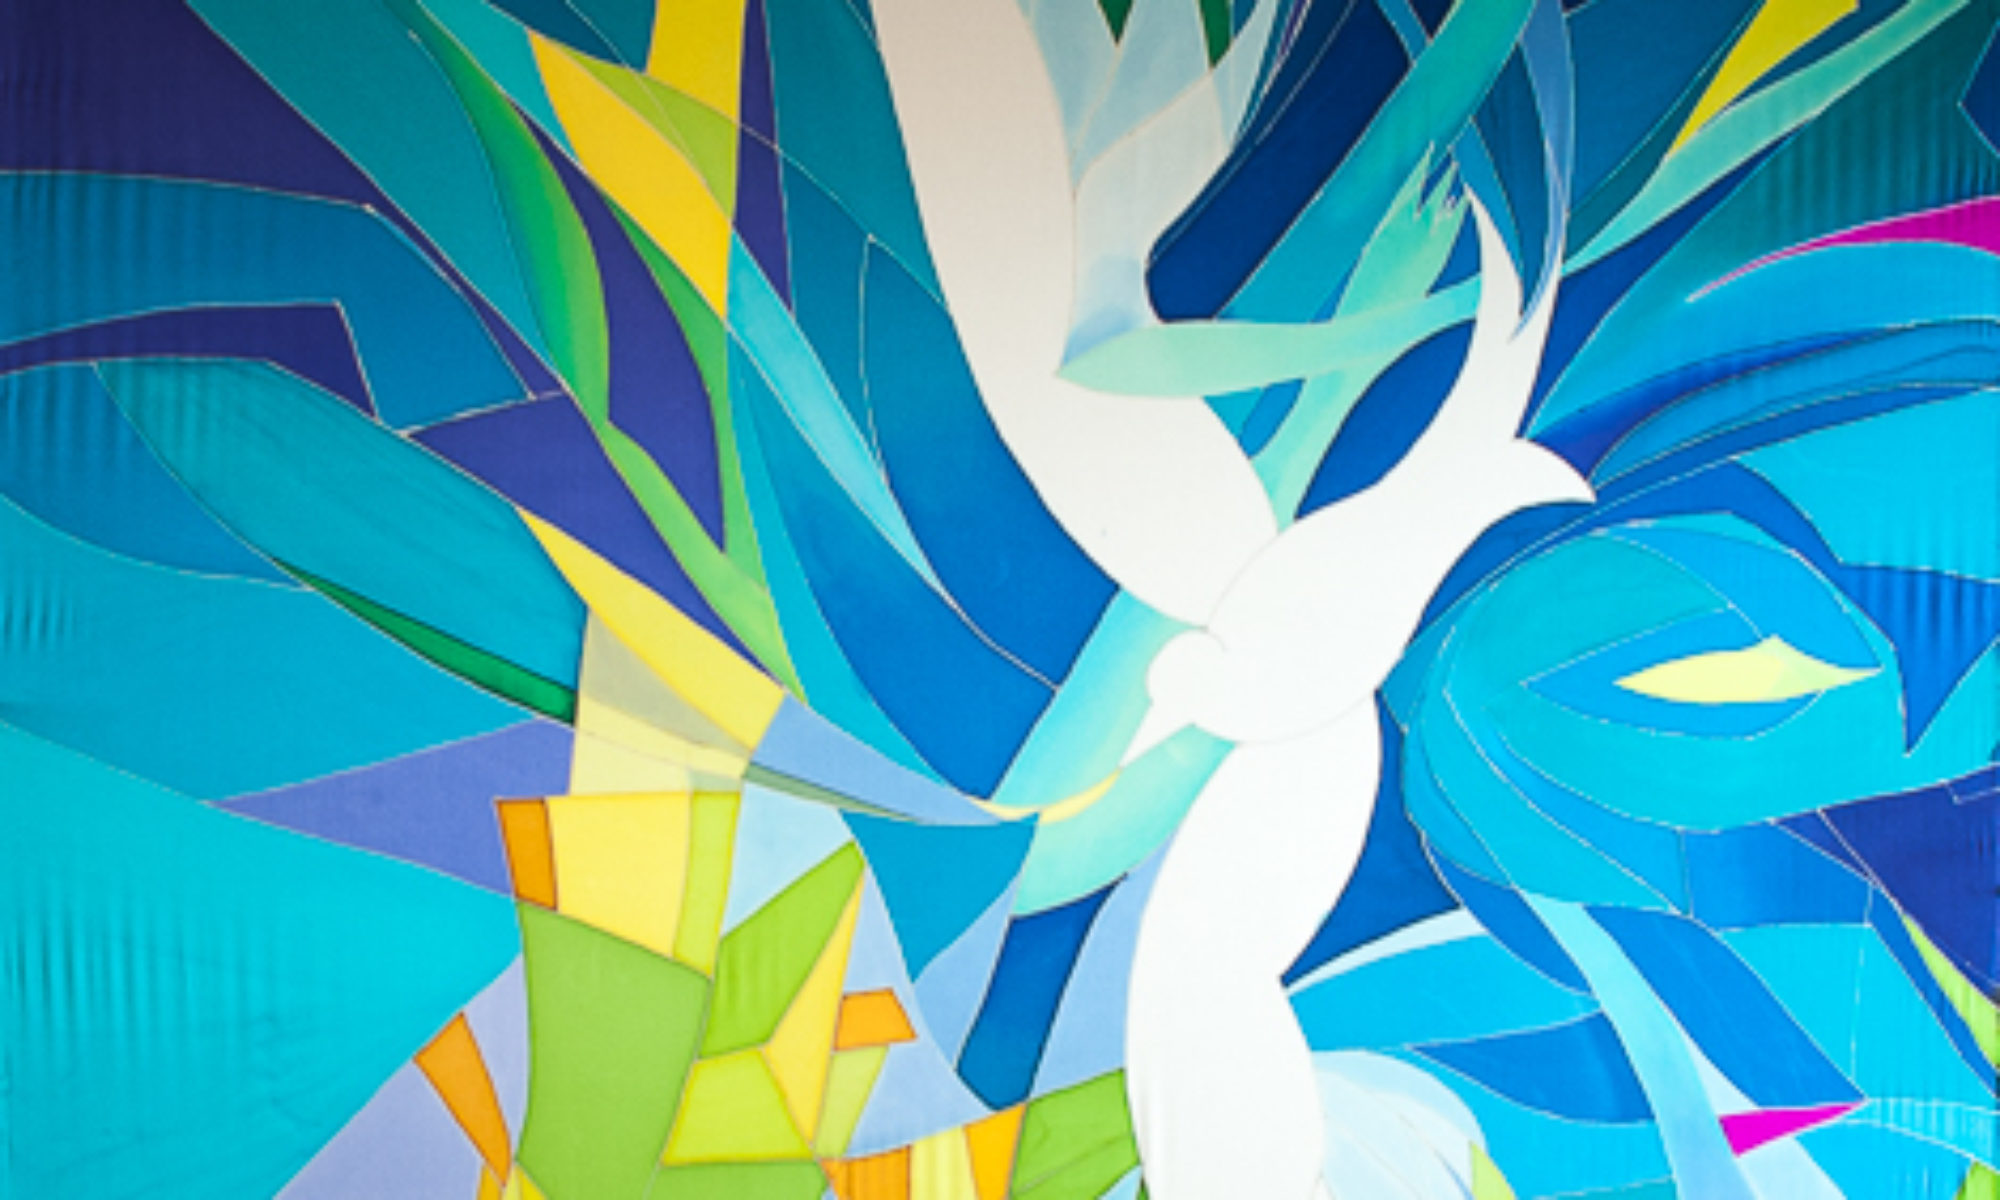
 Â Here’s the full view of the design. The finished piece will be 24 feet long and eight feet wide, on two long silk panels 4 feet across each.
 Here’s the full view of the design. The finished piece will be 24 feet long and eight feet wide, on two long silk panels 4 feet across each.
The cross will not be painted in, but in this sketch represents the church’s existing wooden cross (9 feet by 6 feet) that hangs the ceiling. The silk mural will be behind the wooden cross.
I will use colors on the tree that echo the wood colors of the existing cross to make a metaphor: The Cross is like a tree that is alive, blooming, and abundant with food in each season, and its leaves are for the healing of the nations. (Rev. 22 vs 2)

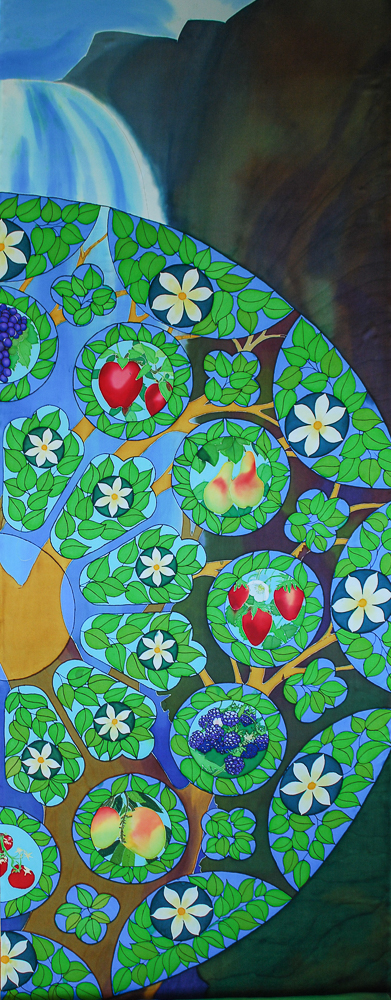
Faith Lutheran Church has a big wall behind its alter that is blank except for the wooden cross and colored light coming from long thin windows at the side. Unfortunately I only have a black and white photo. The carpet is a muted purple, paraments at the time are olive green, the walls warm wood color. The wall looks like it needs a stained glass window behind its cross to me. So I designed the foliage of the tree with the underlying structure of the North Window of Chartres Cathedral in France. At times during the day light from the stained glass windows on the side will enliven the Tree of Life painting in a lovely way.
The collaborative process for designing this project was conducted  over a period of time, with input from a fairly large group of people from Faith Church. We met 3 or 4 times, and after each meeting I used their input to make changes in the design.
Below you can see the same sketch without the cross. This is the actual design that I will be painting on silk.
 Things are going well. I just finished another couple projects and have cleared up my plate of tasks: so now it’s full steam ahead on this project. I’ve been anxious to get started and it’s really fun.
So far I’ve prepared the silk by hand-washing, line drying, ironing. Then cutting the width down to the right size and applying “fray-block” on all 50 feet of cut edge. The frames are all ready to receive both the pattern and the silk, and right now I’m finishing up drawing the pattern life-size on big paper after making a more careful drawing of the rose window/tree foliage.
UPDATE: April 8, The silk is now on the frames and I have been transferring the design to the silk with a resist from the rubber plant, called “gutta.” I will show pictures of this in the next post.
Following are some pictures of how I make this 30″ x 10″ watercolor sketch into a life-sized pattern for an eight-foot by 24-foot silk painting.
The first step was to refine the round Chartres foliage portion of the piece on another smaller drawing. I like this pen and ink version. It is 10″x10″.

The second step is to enlarge the whole sketch onto paper the same size as the silk would be. I use big roles of newsprint cut to the right size. Most often I use a projector to throw the image onto the paper, but with a round and highly geometrical pattern like this I had to transfer it the old fashion way. I made a big compass out of trammel points and measured carefully to get all the geometrical forms just right.

After this geometrical pattern is finished I can project the details from the pen and ink drawing onto the pattern, knowing that there is no distortion if I adjust the projector to fill the shapes on the carefully made pattern. It’s lots easier to work upright on a  wall than bending over on the floor of my studio.

I found it easier to transfer the large tree trunk and background imagery using a grid instead of the projector since they are such large shapes and easily distorted. So the only practical way to use the time-saving projector as a guide was doing all these leaves and the fruit inside the circles. LOTS of detail here.
I’ll keep you posted on my progress during the weeks ahead. I’ll show you the silk on the wonderful frames my husband makes for me, and what it all looks like with each step. Maybe you can come and see everything in person if you live nearby. Stay tuned!