Unrolling the Silk to See the Whole Painting
Working on a project that is 36 feet long when you only see 9 feet at a time can be tricky. I’m working on 3 wooden frames that have rollers on each end, so when I’m done with the first 9 feet I roll the fabric down to the next 9 feet.

Today I got a chance to roll it all out, all three panels side by side, on a big floor at a school so I can see it all at once. This is the only way to check on how it’s going and what changes still need to be made.

It’s hard to get a good picture of something so large. In both of these pictures you can see that the perspective is foreshortened, so it is hard to see the whole thing properly. Even when the panels are hanging vertically on the wall where they belong it will be challenging to get a good photo. Guess you will just have to see it in person!

See how different it looks upside down? The white area will be the very top of the painting. The piano is at the bottom of the piece.
In the next picture you see the very top of the piece, and I’ve selected some shots that take you down the whole length, so as you scroll down you can see some more of the detail. Remember that it’s not finished yet…this view of the whole has left me with a list of things to take care of.


The area in the picture below is where I will be doing the most touch-up work, as far as fixing things go. This area needs some simplification and unification. I have a plan (check back to see how I do this).

Below you can see that the rocks, and the waterfall below the rocks, are the least developed of the project, since I am working from the top down.

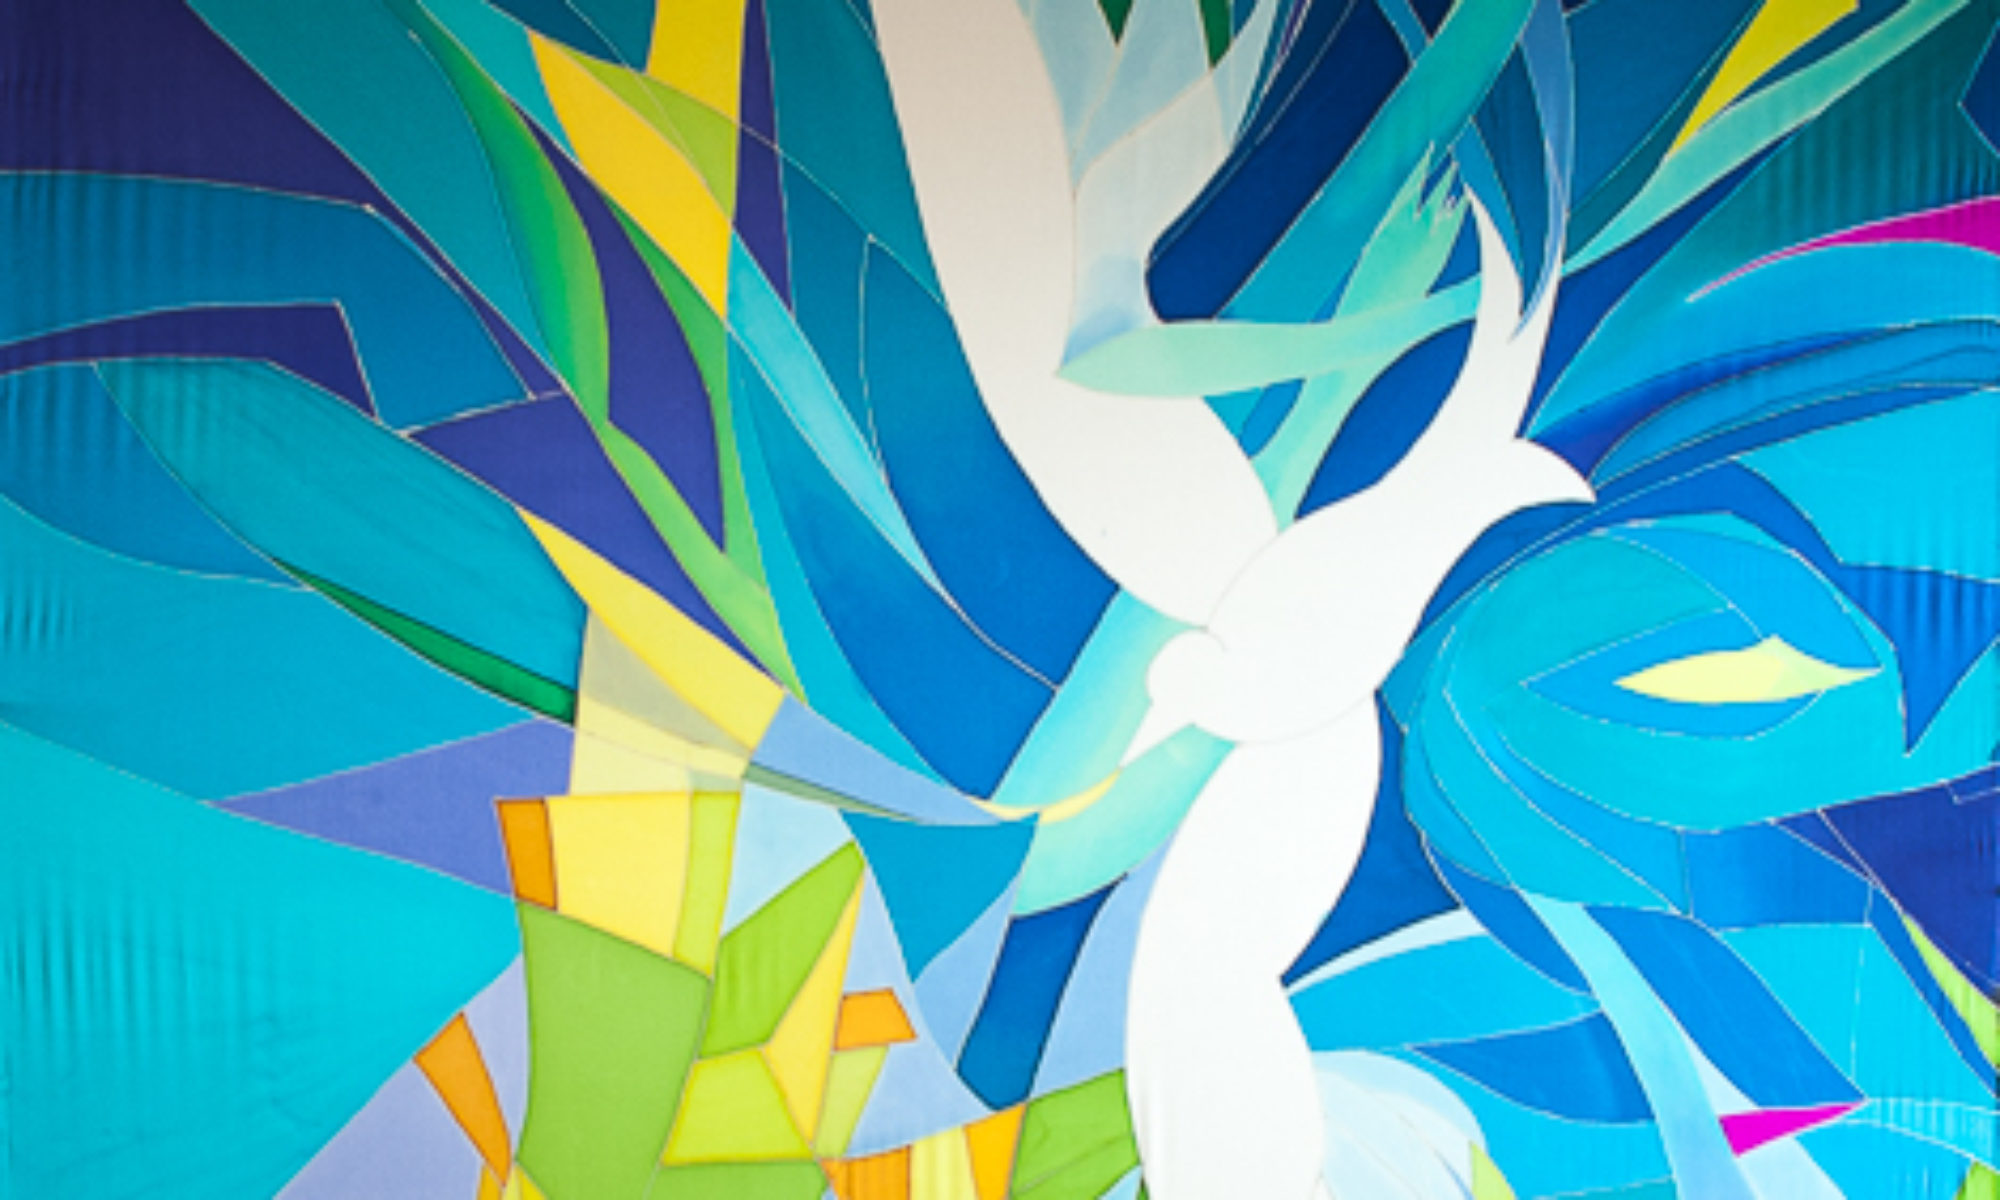
Can you see that the colors and textures are not as rich in the lower areas? It’s amazing what just one more layer of dye will do, to add variation and saturation. The rocks will be darker in value, maybe as dark as black, but I want to keep some of the color variation in these rock shapes.


And the water in the lower waterfalls will be rich too, with more interesting lines and textures, sort of like what you see below.
I really like making good use of what the dyes can do. It’s a matter of knowing your materials very well, and what happens to them in different circumstances. I’ve used layered dyes to make interesting lines, painted with water to push the paint around, used a watercolor technique of transparency, and blended colors to make soft edges. I’ve used some gutta resist for sharp edges and keeping one section of dye from another, lots of salt, and lots of prayer.
And finally, here I am in my studio-to-be, with the silk on the frames.  Now that all the silk is covered at least once the major decisions are done and the great share of the work is over. Now comes the very most important part of the painting: Tuning it up to make it just right.

Just lovely work Kristen! Mikkel
Thanks Mik!