
Extraordinary Lutheran Ministries director Amalia Vagts commissioned a set of banners that can travel to different congregations. ELM has developed a logo for their organization and a logo for a program contained within ELM, called “Proclaim”. My job was to combine those two logos into one design for one banner, and to create a second companion banner out of the “ELM” logo alone.

Here are the two logos I combined:


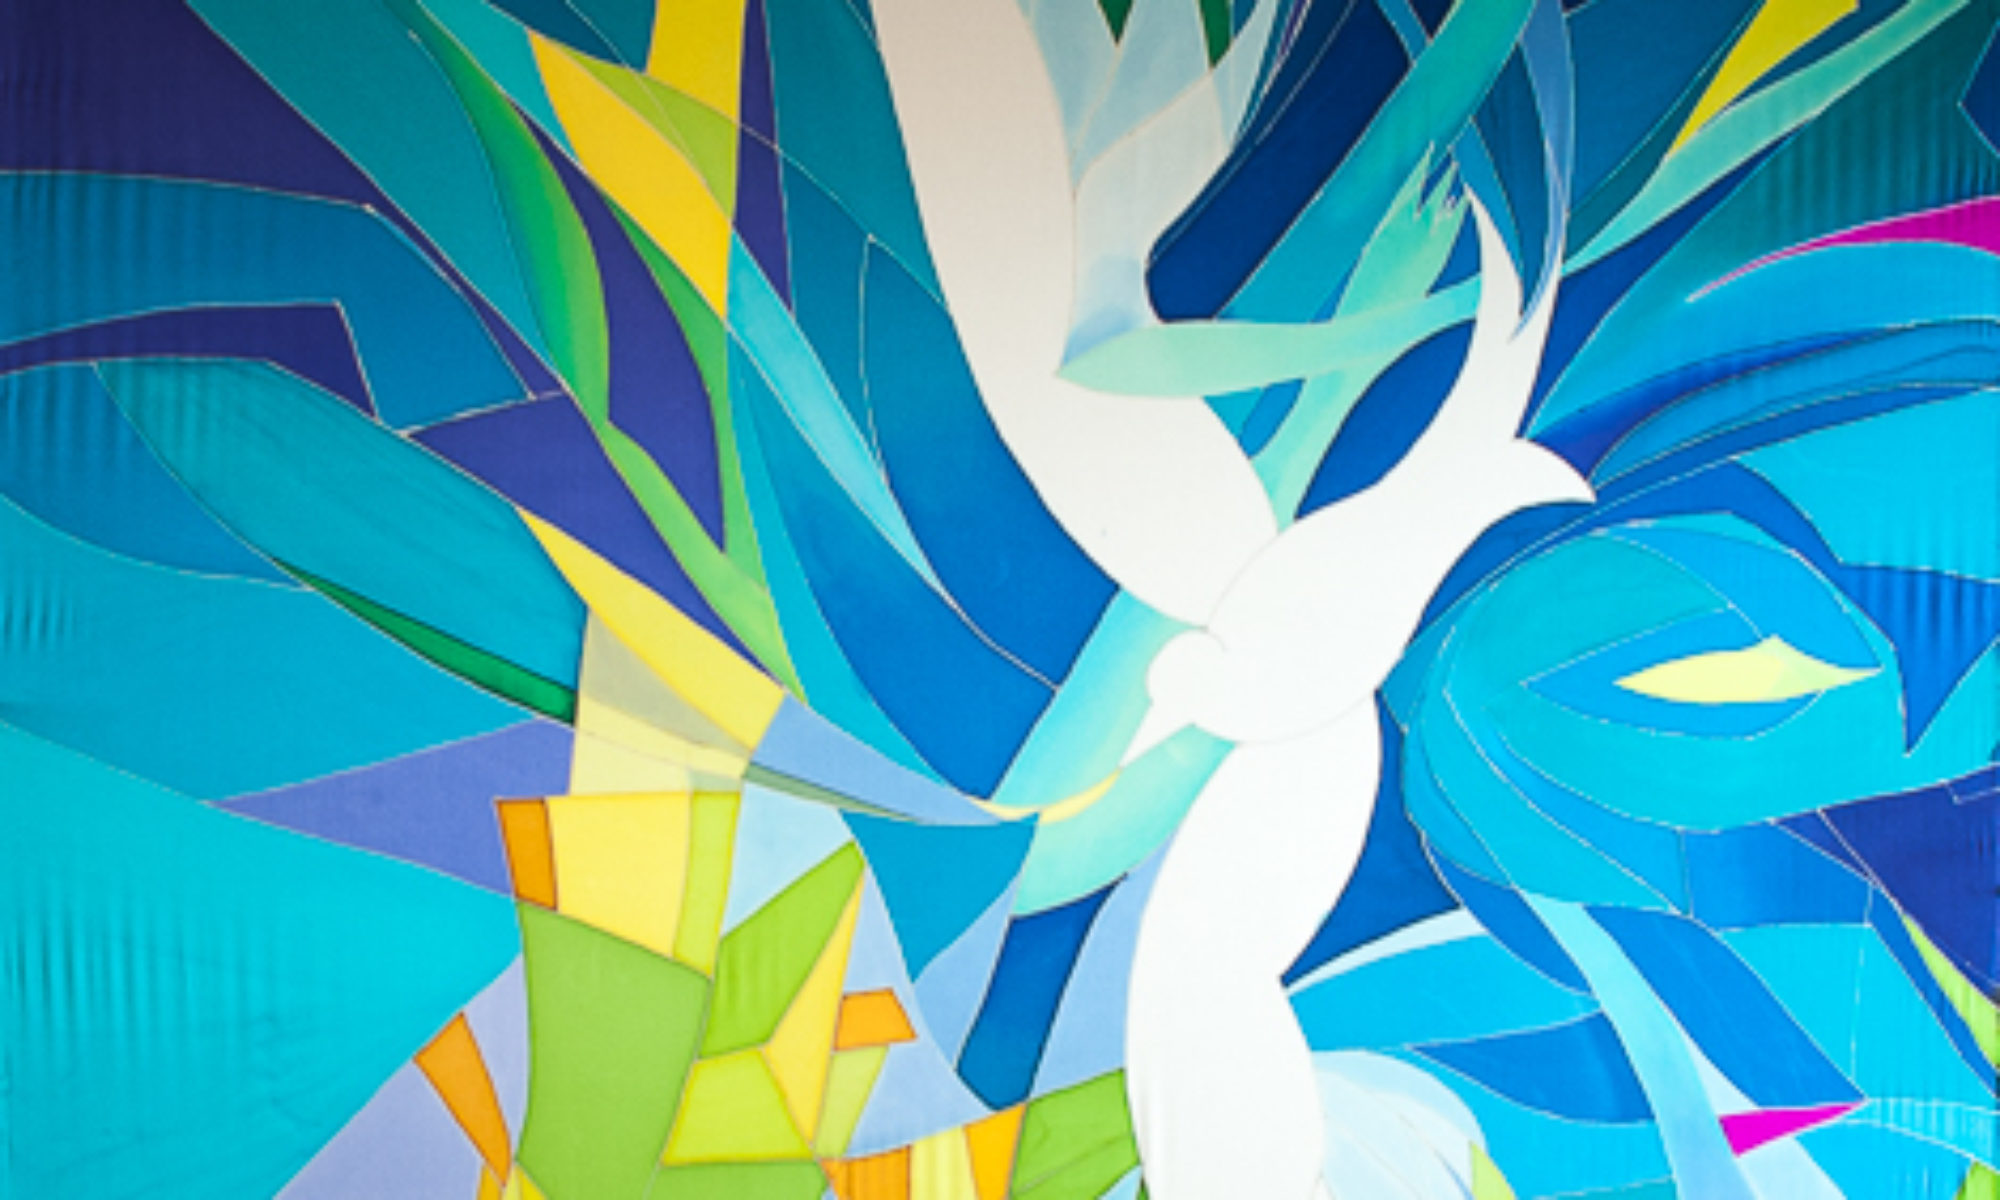
On the left is how I chose to combine the two logos into one:


and here on the right is the companion banner.During the designing process Amalia and I were in contact so I could have her input and feedback, and incorporate any changes required.
Once we agreed upon the design the next step was to transfer it to the silk. Instead of drawing on the silk I drew the design on a large piece of paper the same size the banner was to be. I did this our the attic, which is my future studio!

As I write this my husband Kristofer is framing in skylights and a picture window (facing north) and getting ready to insulate the attic space. This will make a wonderful studio, and it’s hard to keep from moving in before it’s finished!
After drawing the design as big as the banner I stretched silk onto a wooden frame, then put the drawing under the silk. I could see the lines of the design through the silk, and copied these lines onto the silk with a resist.

Now it’s time to put some color on the banner! I usually start with the lightest colors first, then move to the darker ones. The biggest challenge with this painting was to keep any dye out of the area to remain white.

And the following picture is of the completed painting. Next: the silk painting must be steamed to set the dye, and then I’ll cut the bottom to create and inverted arch shape. The last step is to hem the banner and add a sleeve at the top. There’s quite a lot of work to do after all the painting is completed, but at least you can see what the banner is becoming.
Below you will see that the wax is still on the lettering. The wax will burn off in the steaming process, and will look much whiter. I’ve cracked the wax in the lettering to let some of the blue dye into the letters. This is similar to a batik effect, and ties the lettering visually into the piece. Otherwise the lettering looks like it’s not truly a part of the piece.

After I remove this one from its wooden frame to go into the steamer I’ll stretch a fresh sheet of silk over it to start the companion ELM banner. I’ll post that one for you to see when it’s ready.
So gorgeous, Kristen!
Thank you Erik!
Hi, what kind of dye did you use?
Hi Michelle. I use mostly Sennelier TinFix silk dyes from Dharma Trading Co. in San Rafael CA.